The Eiffel Tower, the Louvre, a boat ride on Scotland’s Loch Ness, Mozart’s house in Vienna and Mont Saint Michel. What do they all have in common? A ticket stub. A ticket stub begging to be beautifully arranged in an archival quality, acid free, plastic-page-covered scrapbook the family will cherish for generations. What a great idea. . . that is not going to come to fruition. I have a stack of said ticket stubs and finally decided they needed to be put to good use. Enter child’s art project.
Supplies: cheap canvas (available at any art store or often at dollar stores), washable markers, small paint brush, acrylic paint, finger paint, colored pencils, glue, paper travel paraphernalia
Day 1: Present the canvas and markers to the child (mine are two and three-years-old). Allow them to color all over – front, back, side, whatever.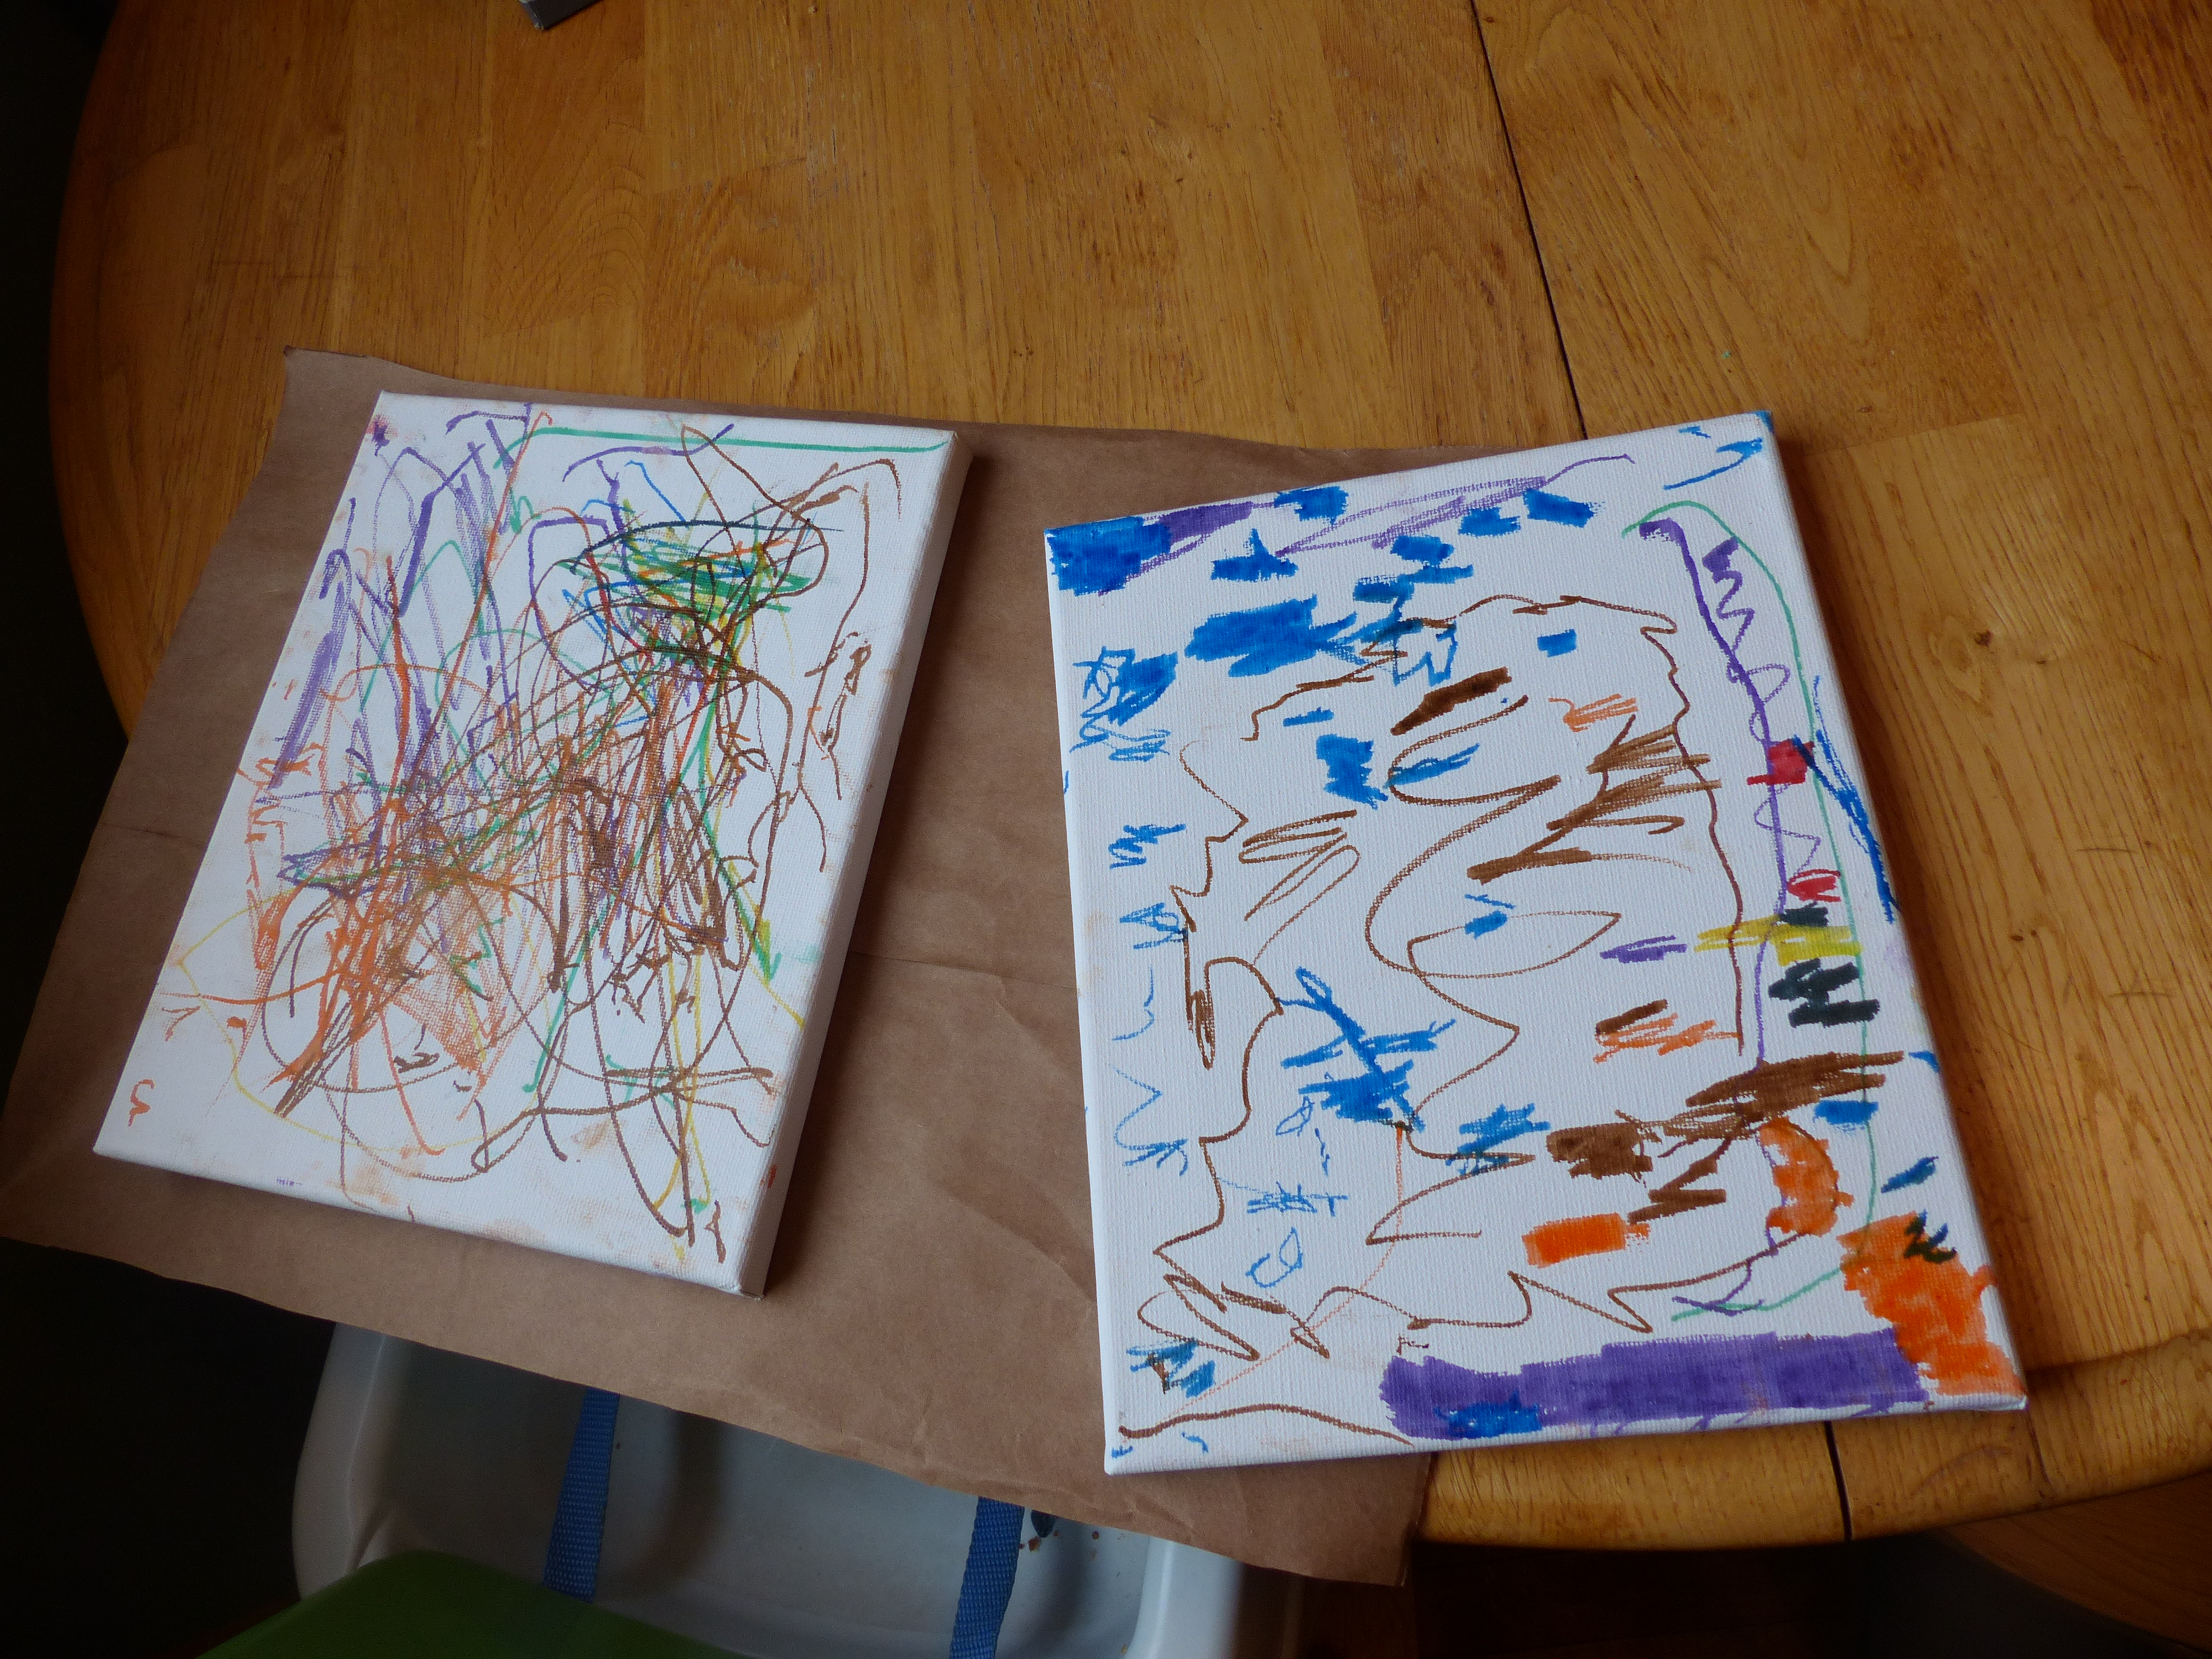
Day 2: This day could possibly be challenging if your child is particularly attached to the masterpiece from Day One. Today, that masterpiece will melt away. If your child is a little OCD, you may want to explain that the “melting” is part of the project and is only making the piece of art more beautiful. It’s not breaking it. Have the kids paint the canvas with water. The washable ink dissolves and creates its own paint colors. Dry for several hours.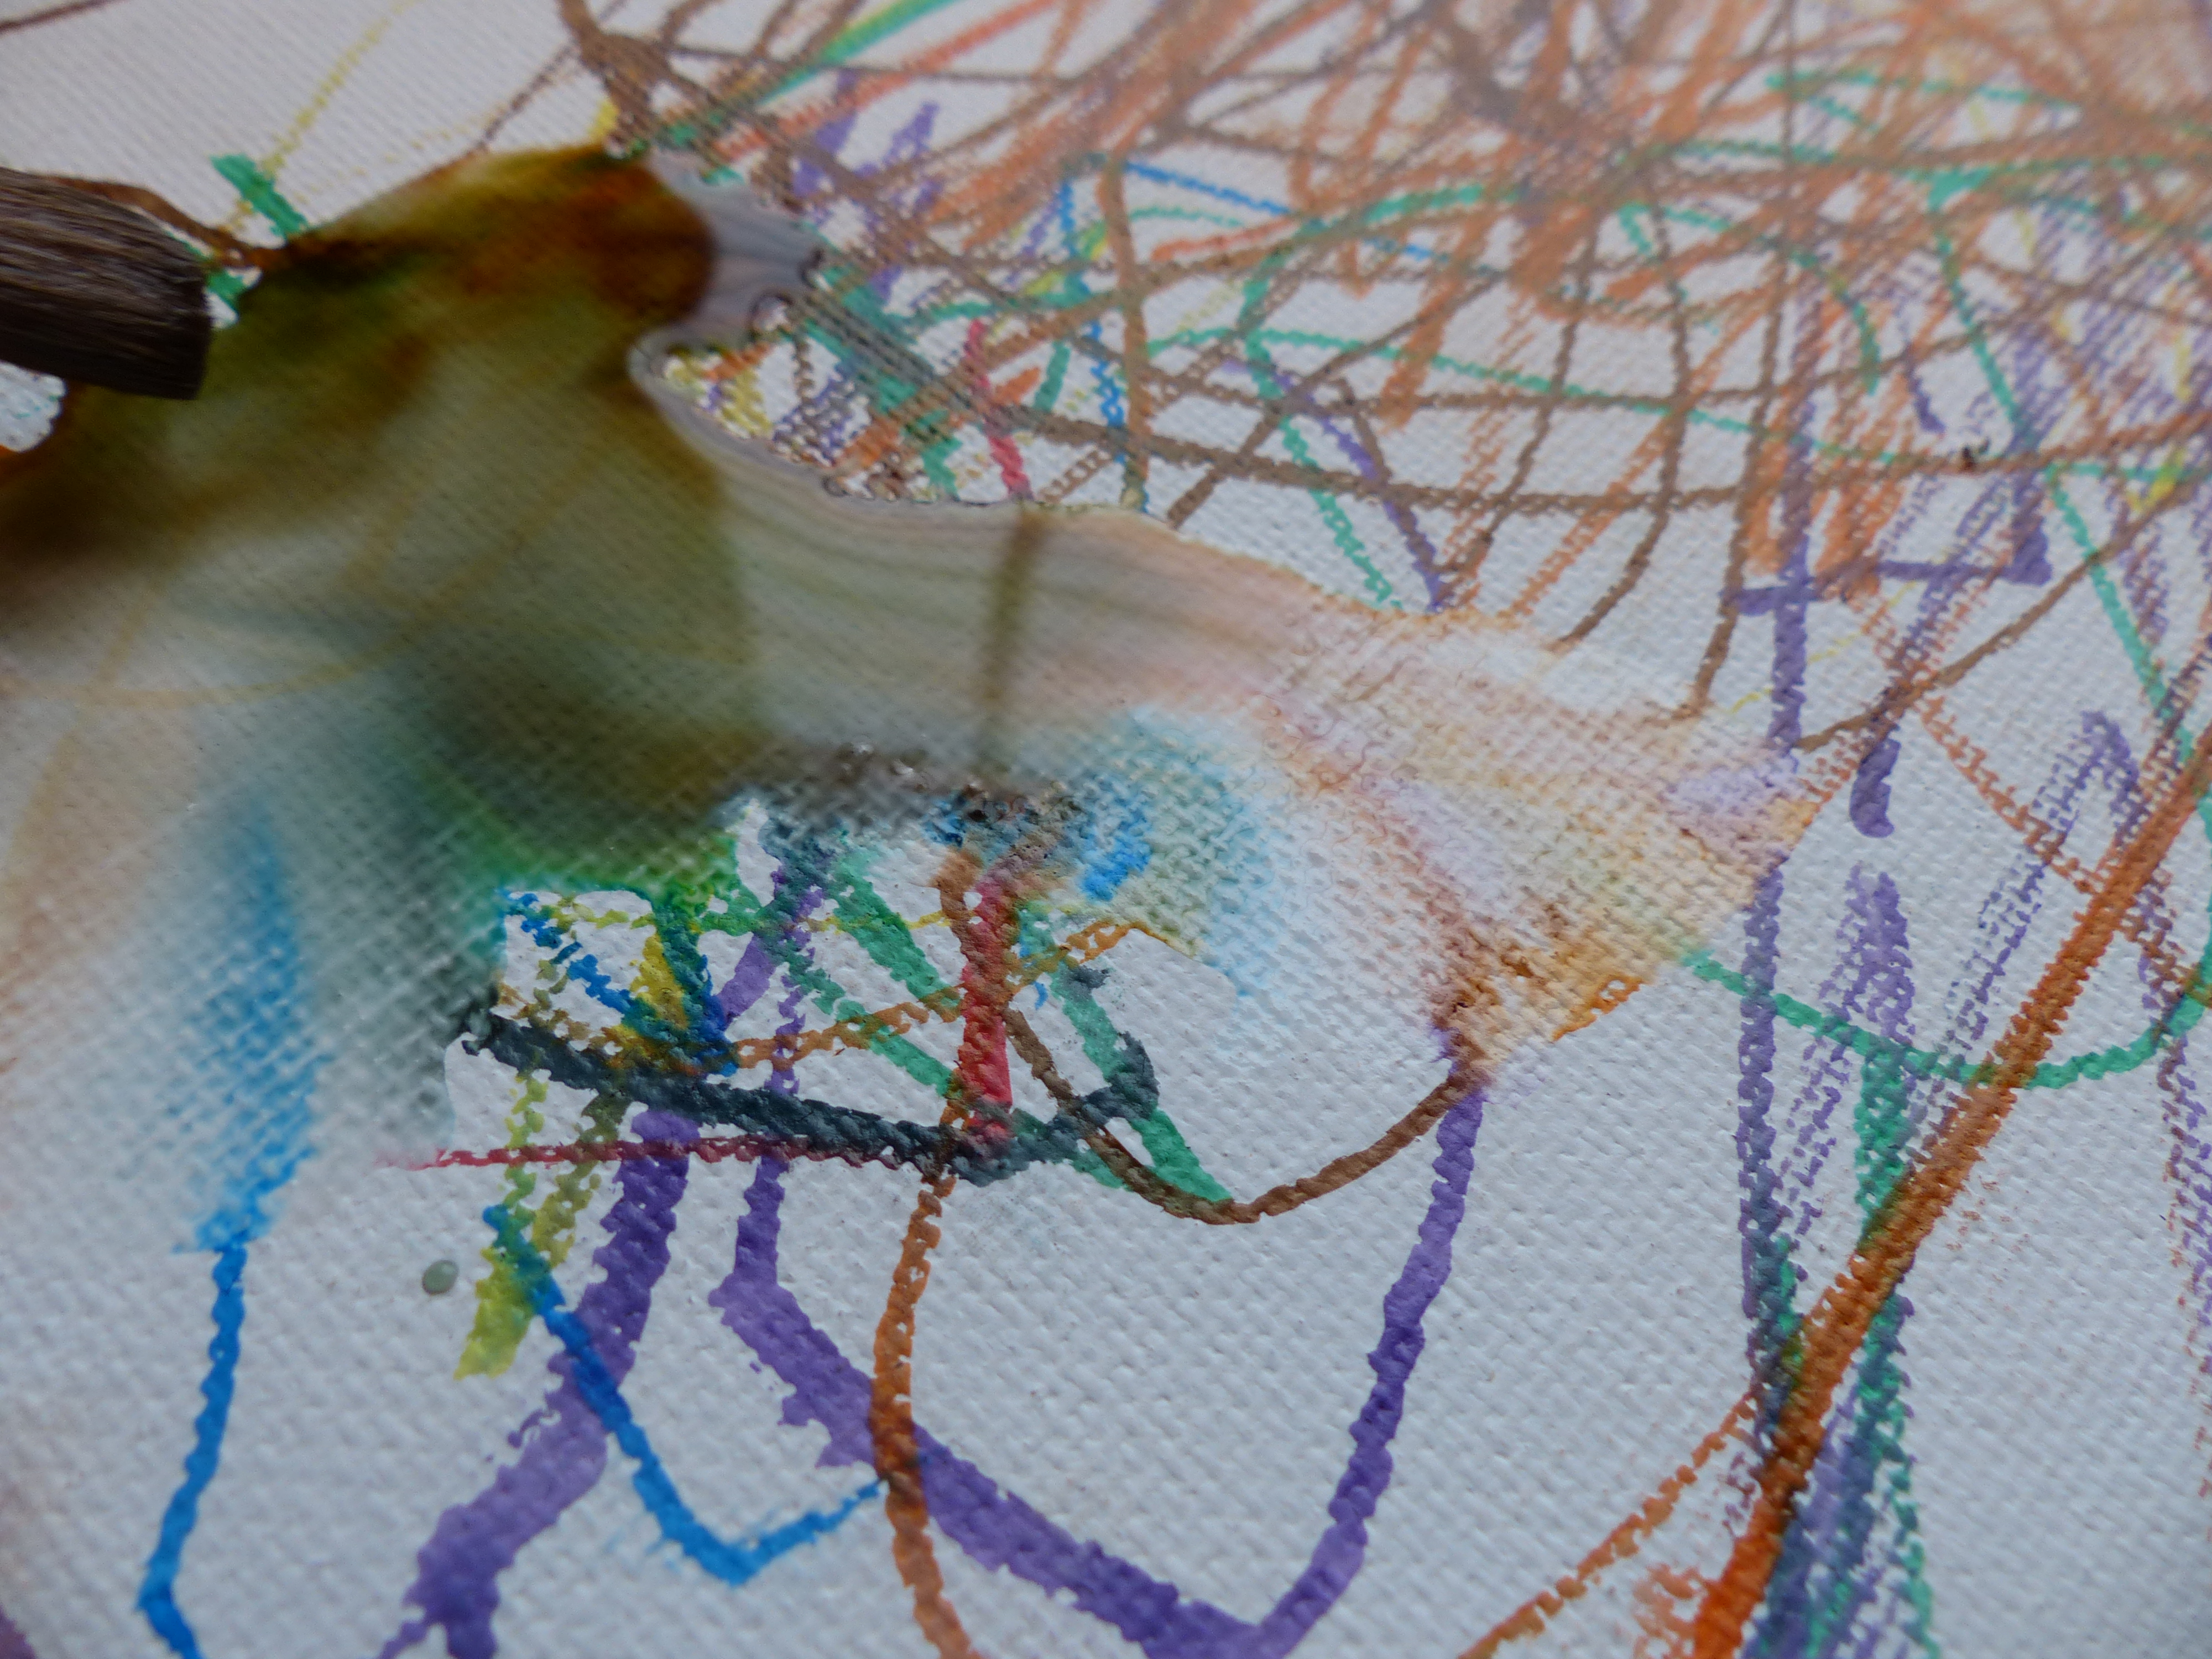
Day 3: Using whatever other writing utensils you might have around, let the child continue decorating their canvas. We used colored pencils. Crayons, pens and chalk are other options. 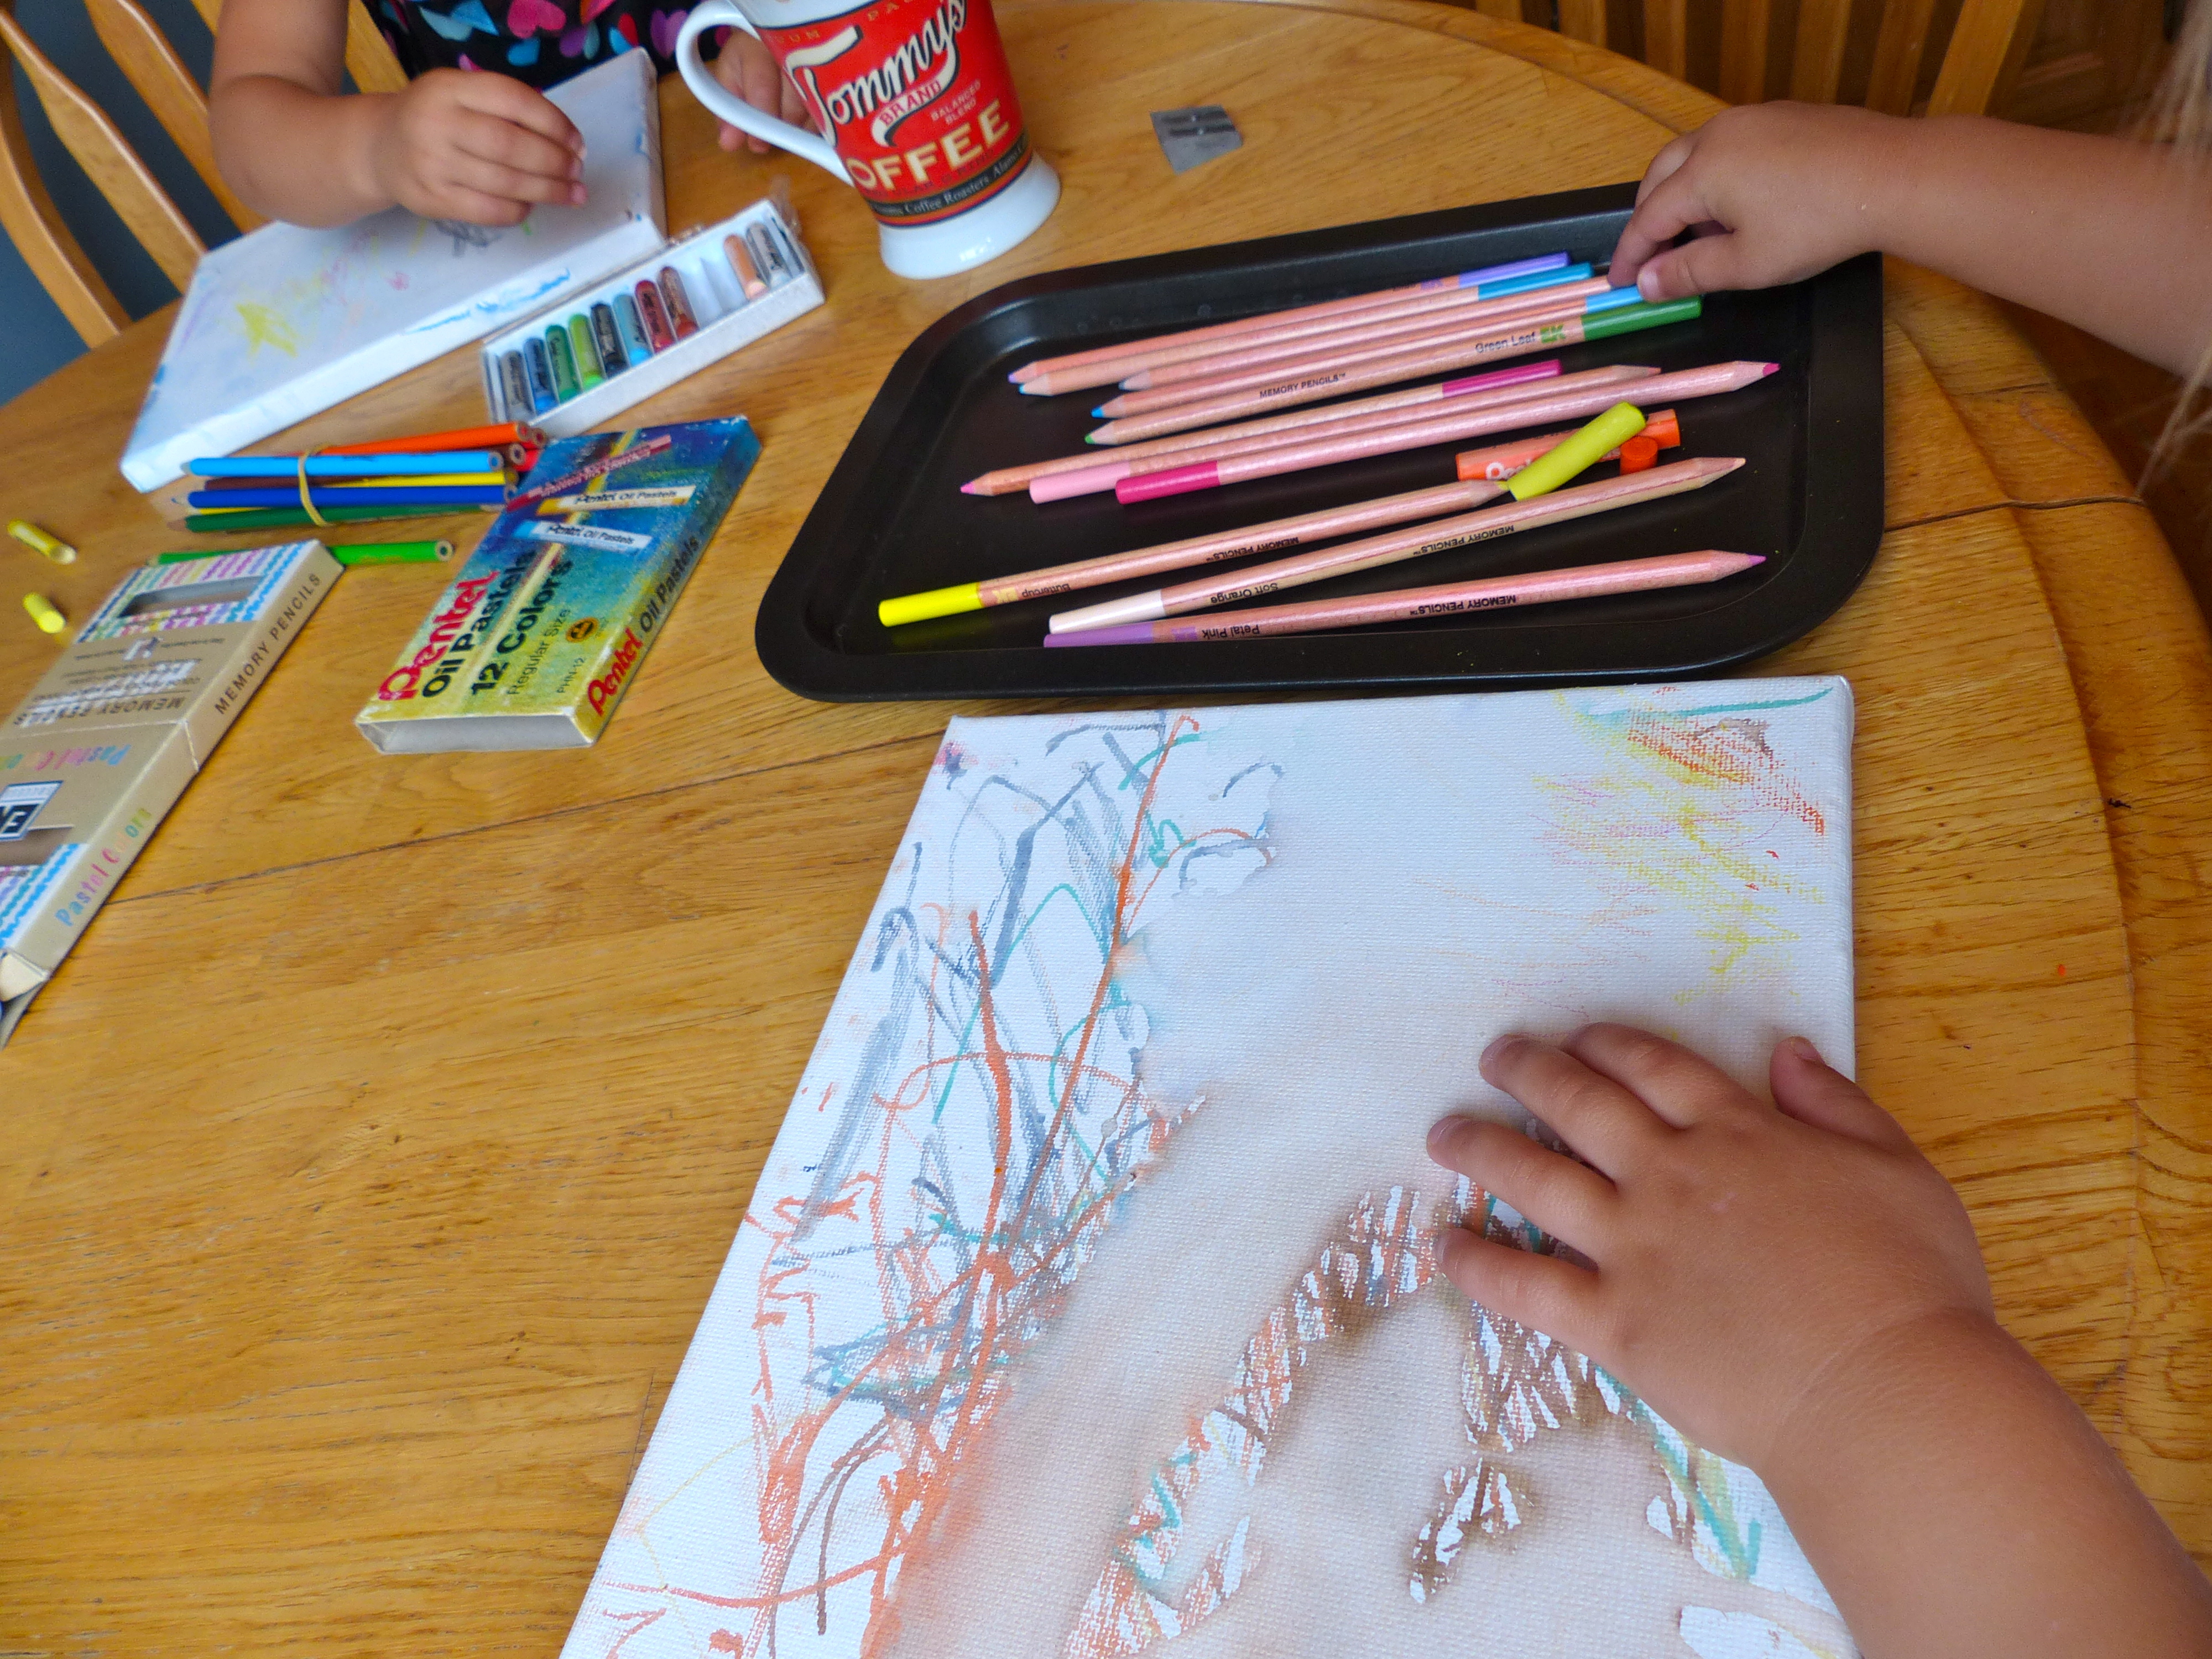
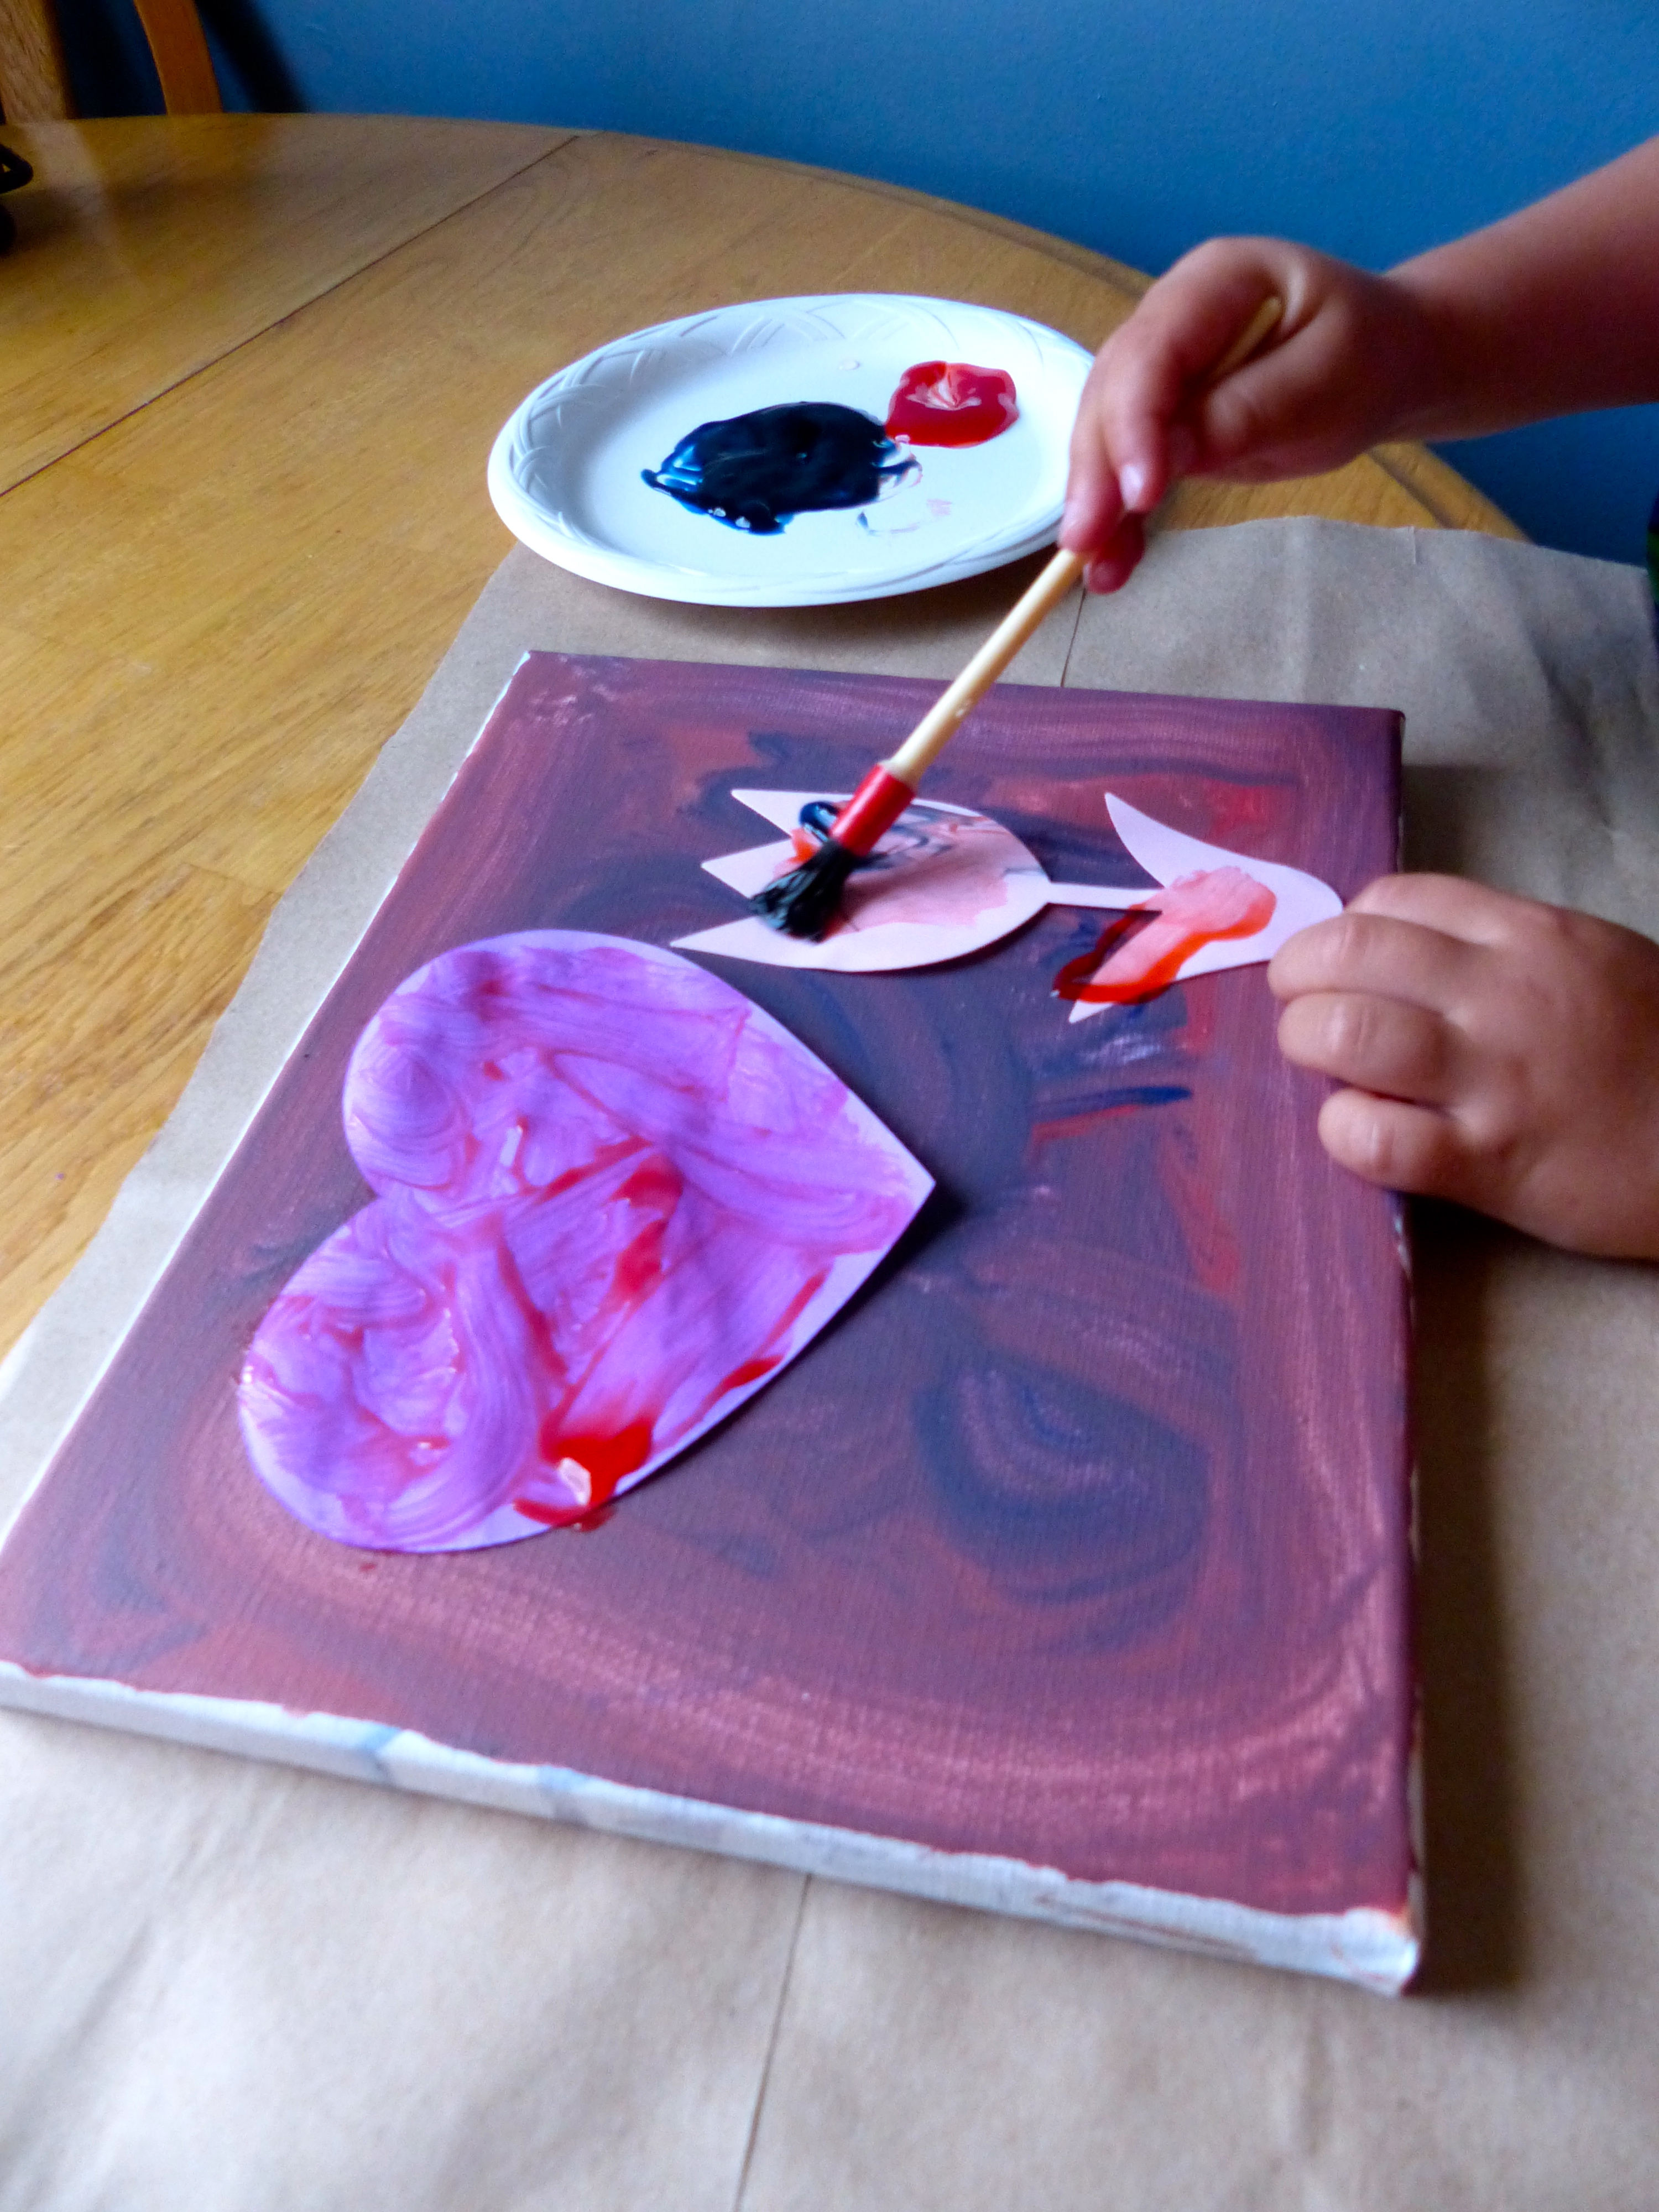
Day 4: Take it up a notch and paint the canvas. One of my children completely covered over the previous day’s work. That’s okay, as long as they are entertained and you can have a few minutes to sip your coffee in peace.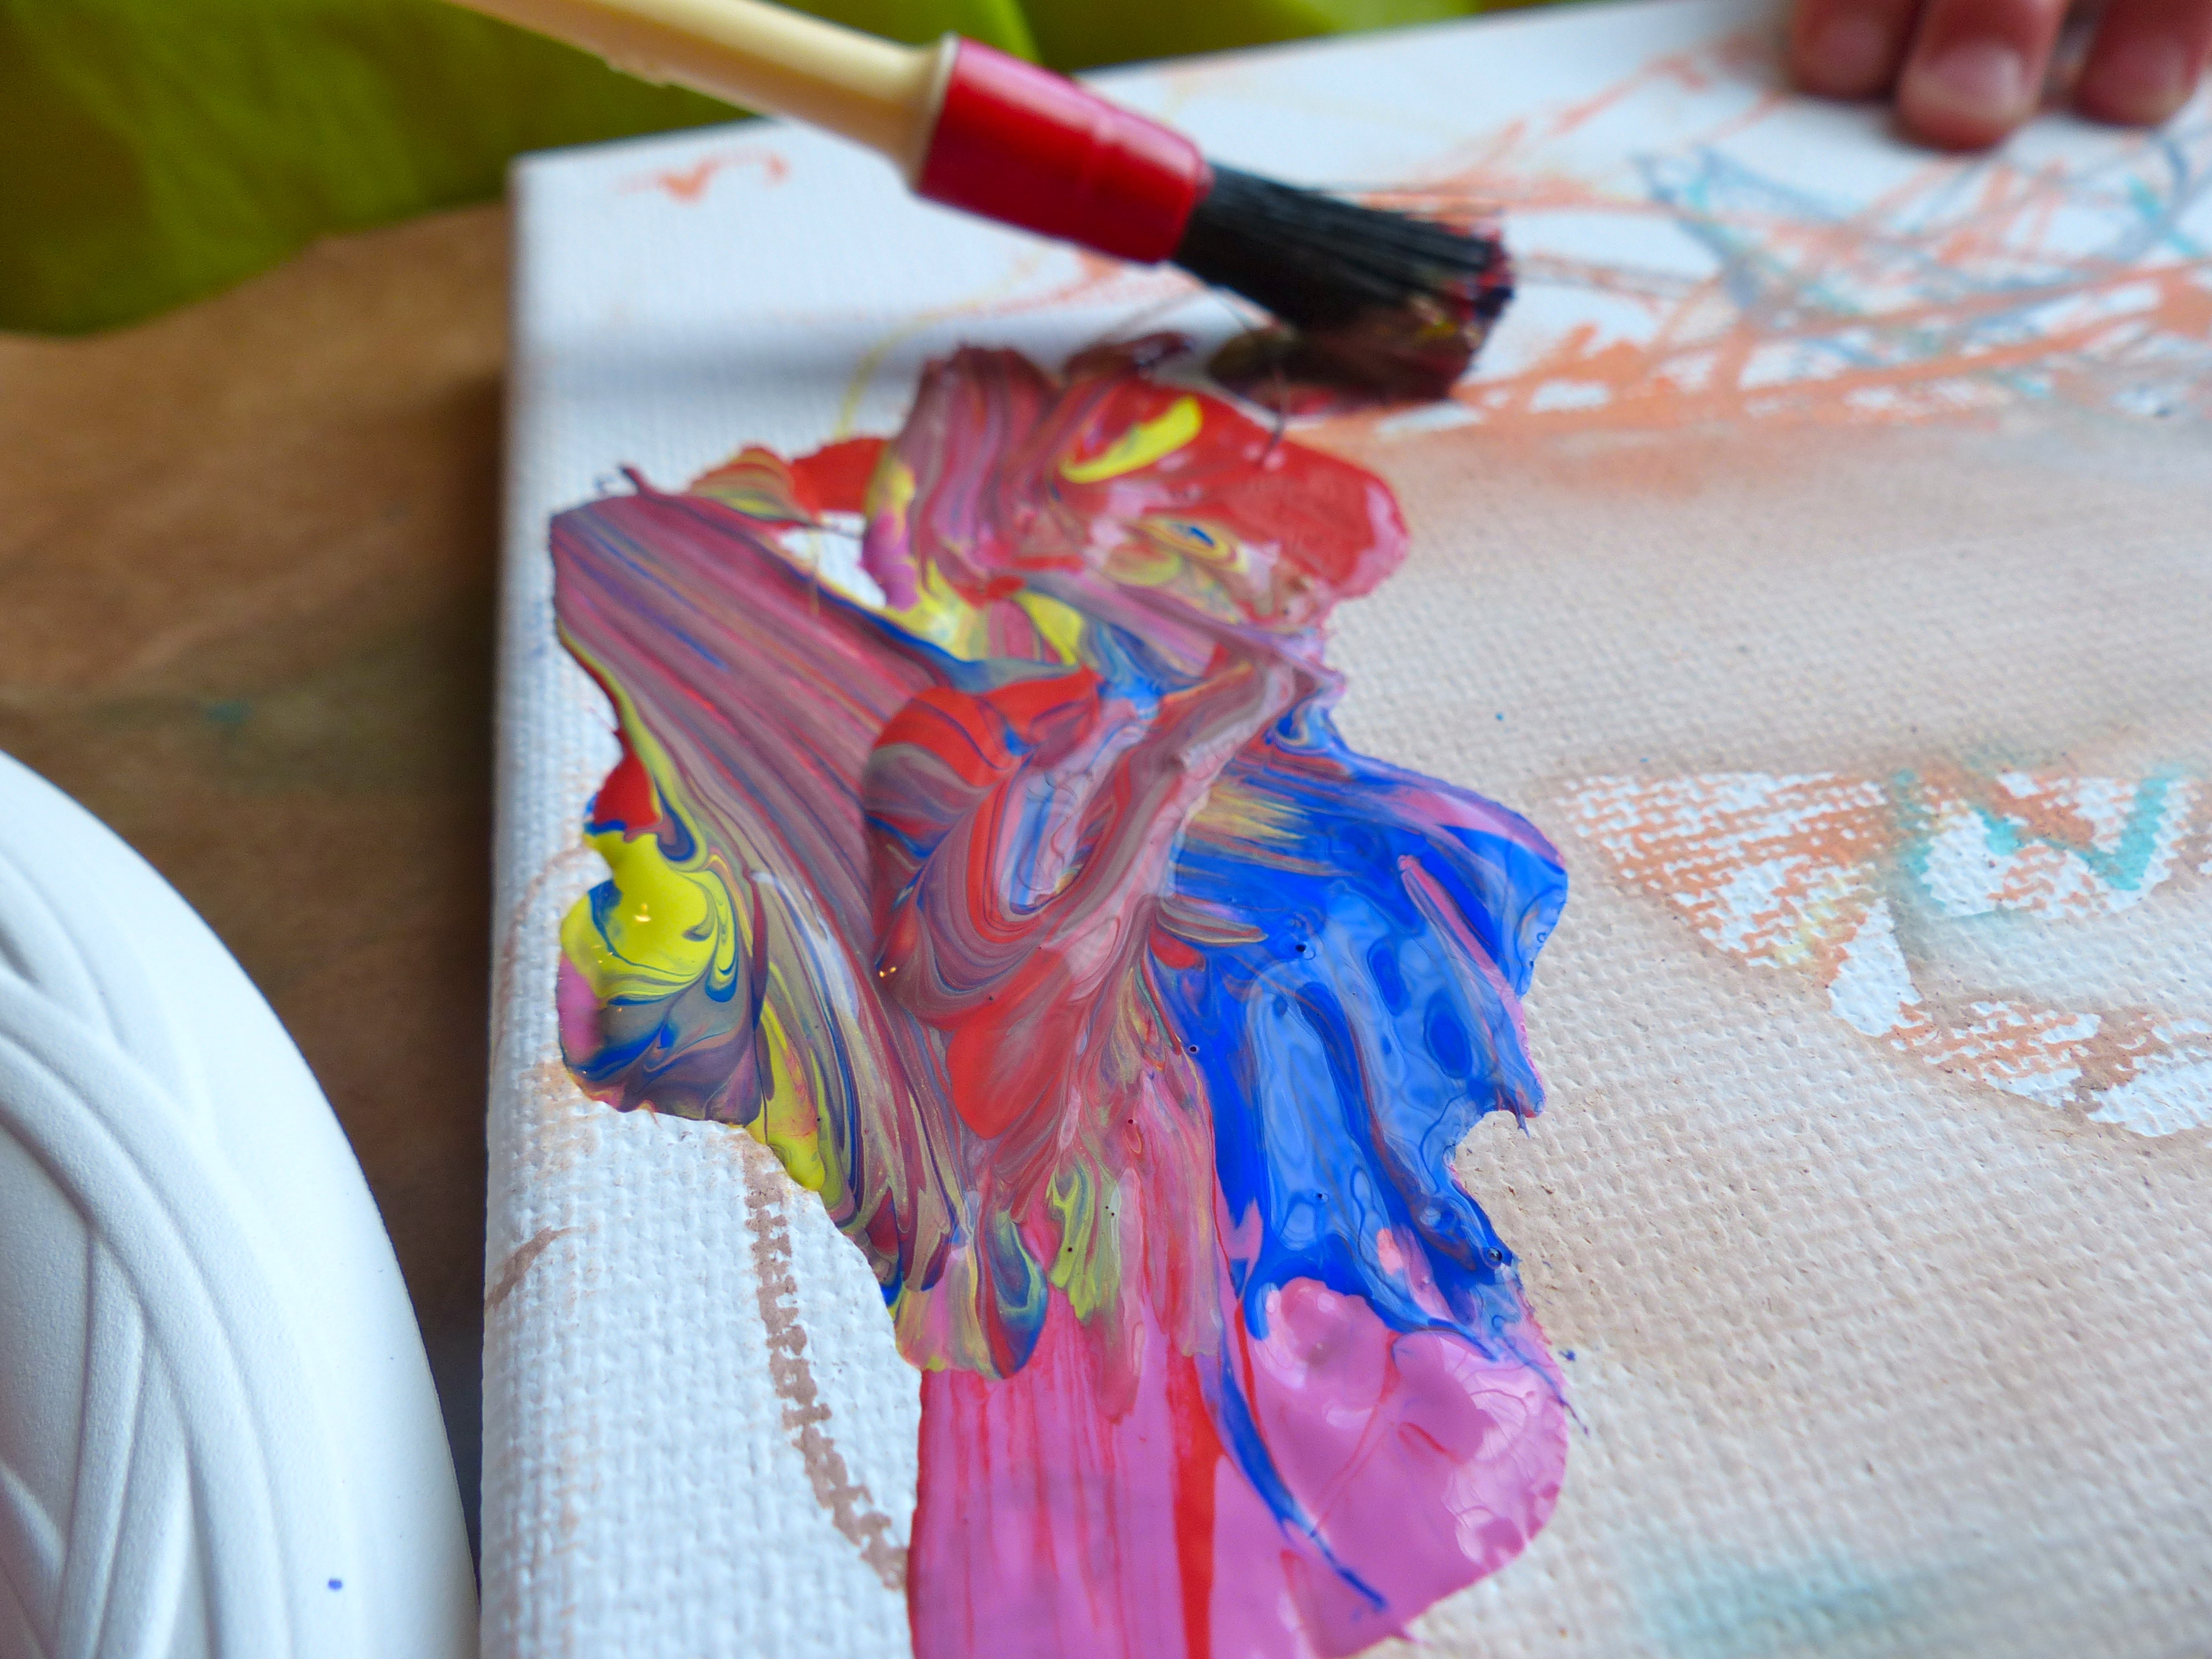
Day 5: When the child is sick of coloring the same canvas yet again, take a break and glue on some small colorful pieces of paper. We had some shapes from an aunt that were begging to be put to good use in an art project. After the paper was adhered to the canvas, they painted with finger paints, which leaves some thick texturing. Fancy, fancy. Allow ample time to dry.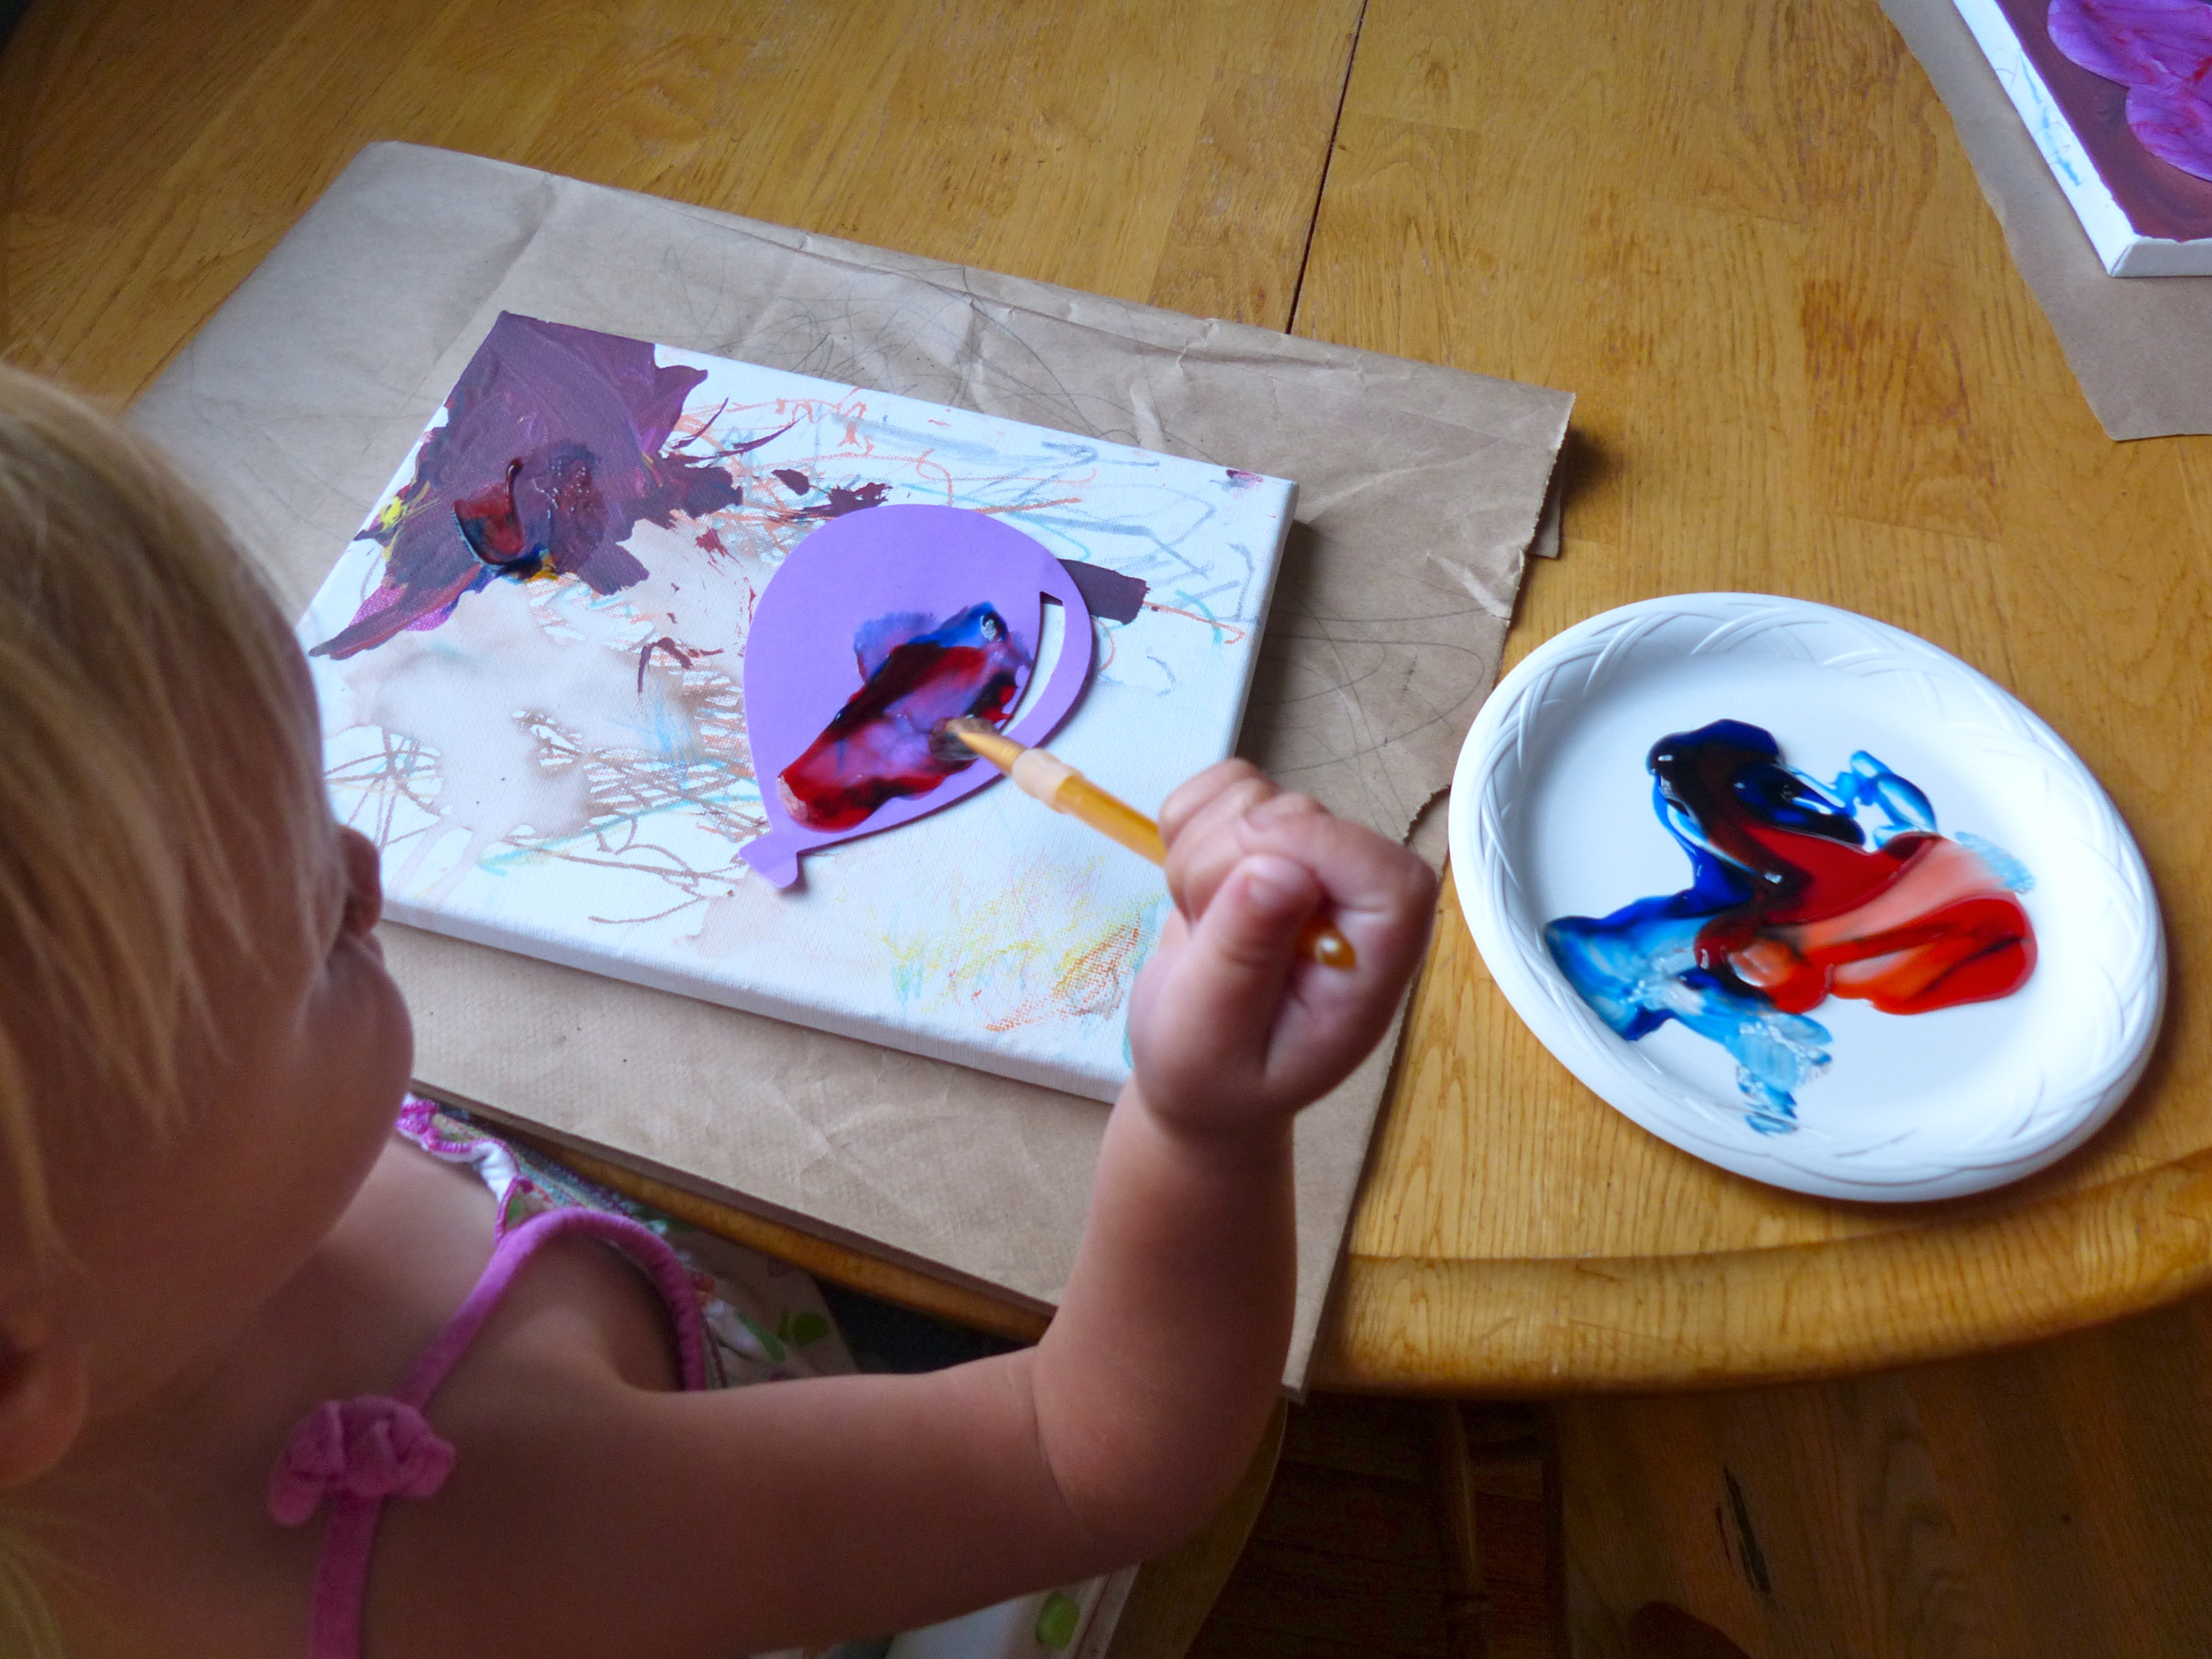
Day 6: Adhere ticket stubs. I let each child pick several stubs from a large pile. Now I need to figure out what to do with the rest of them. Any suggestions?
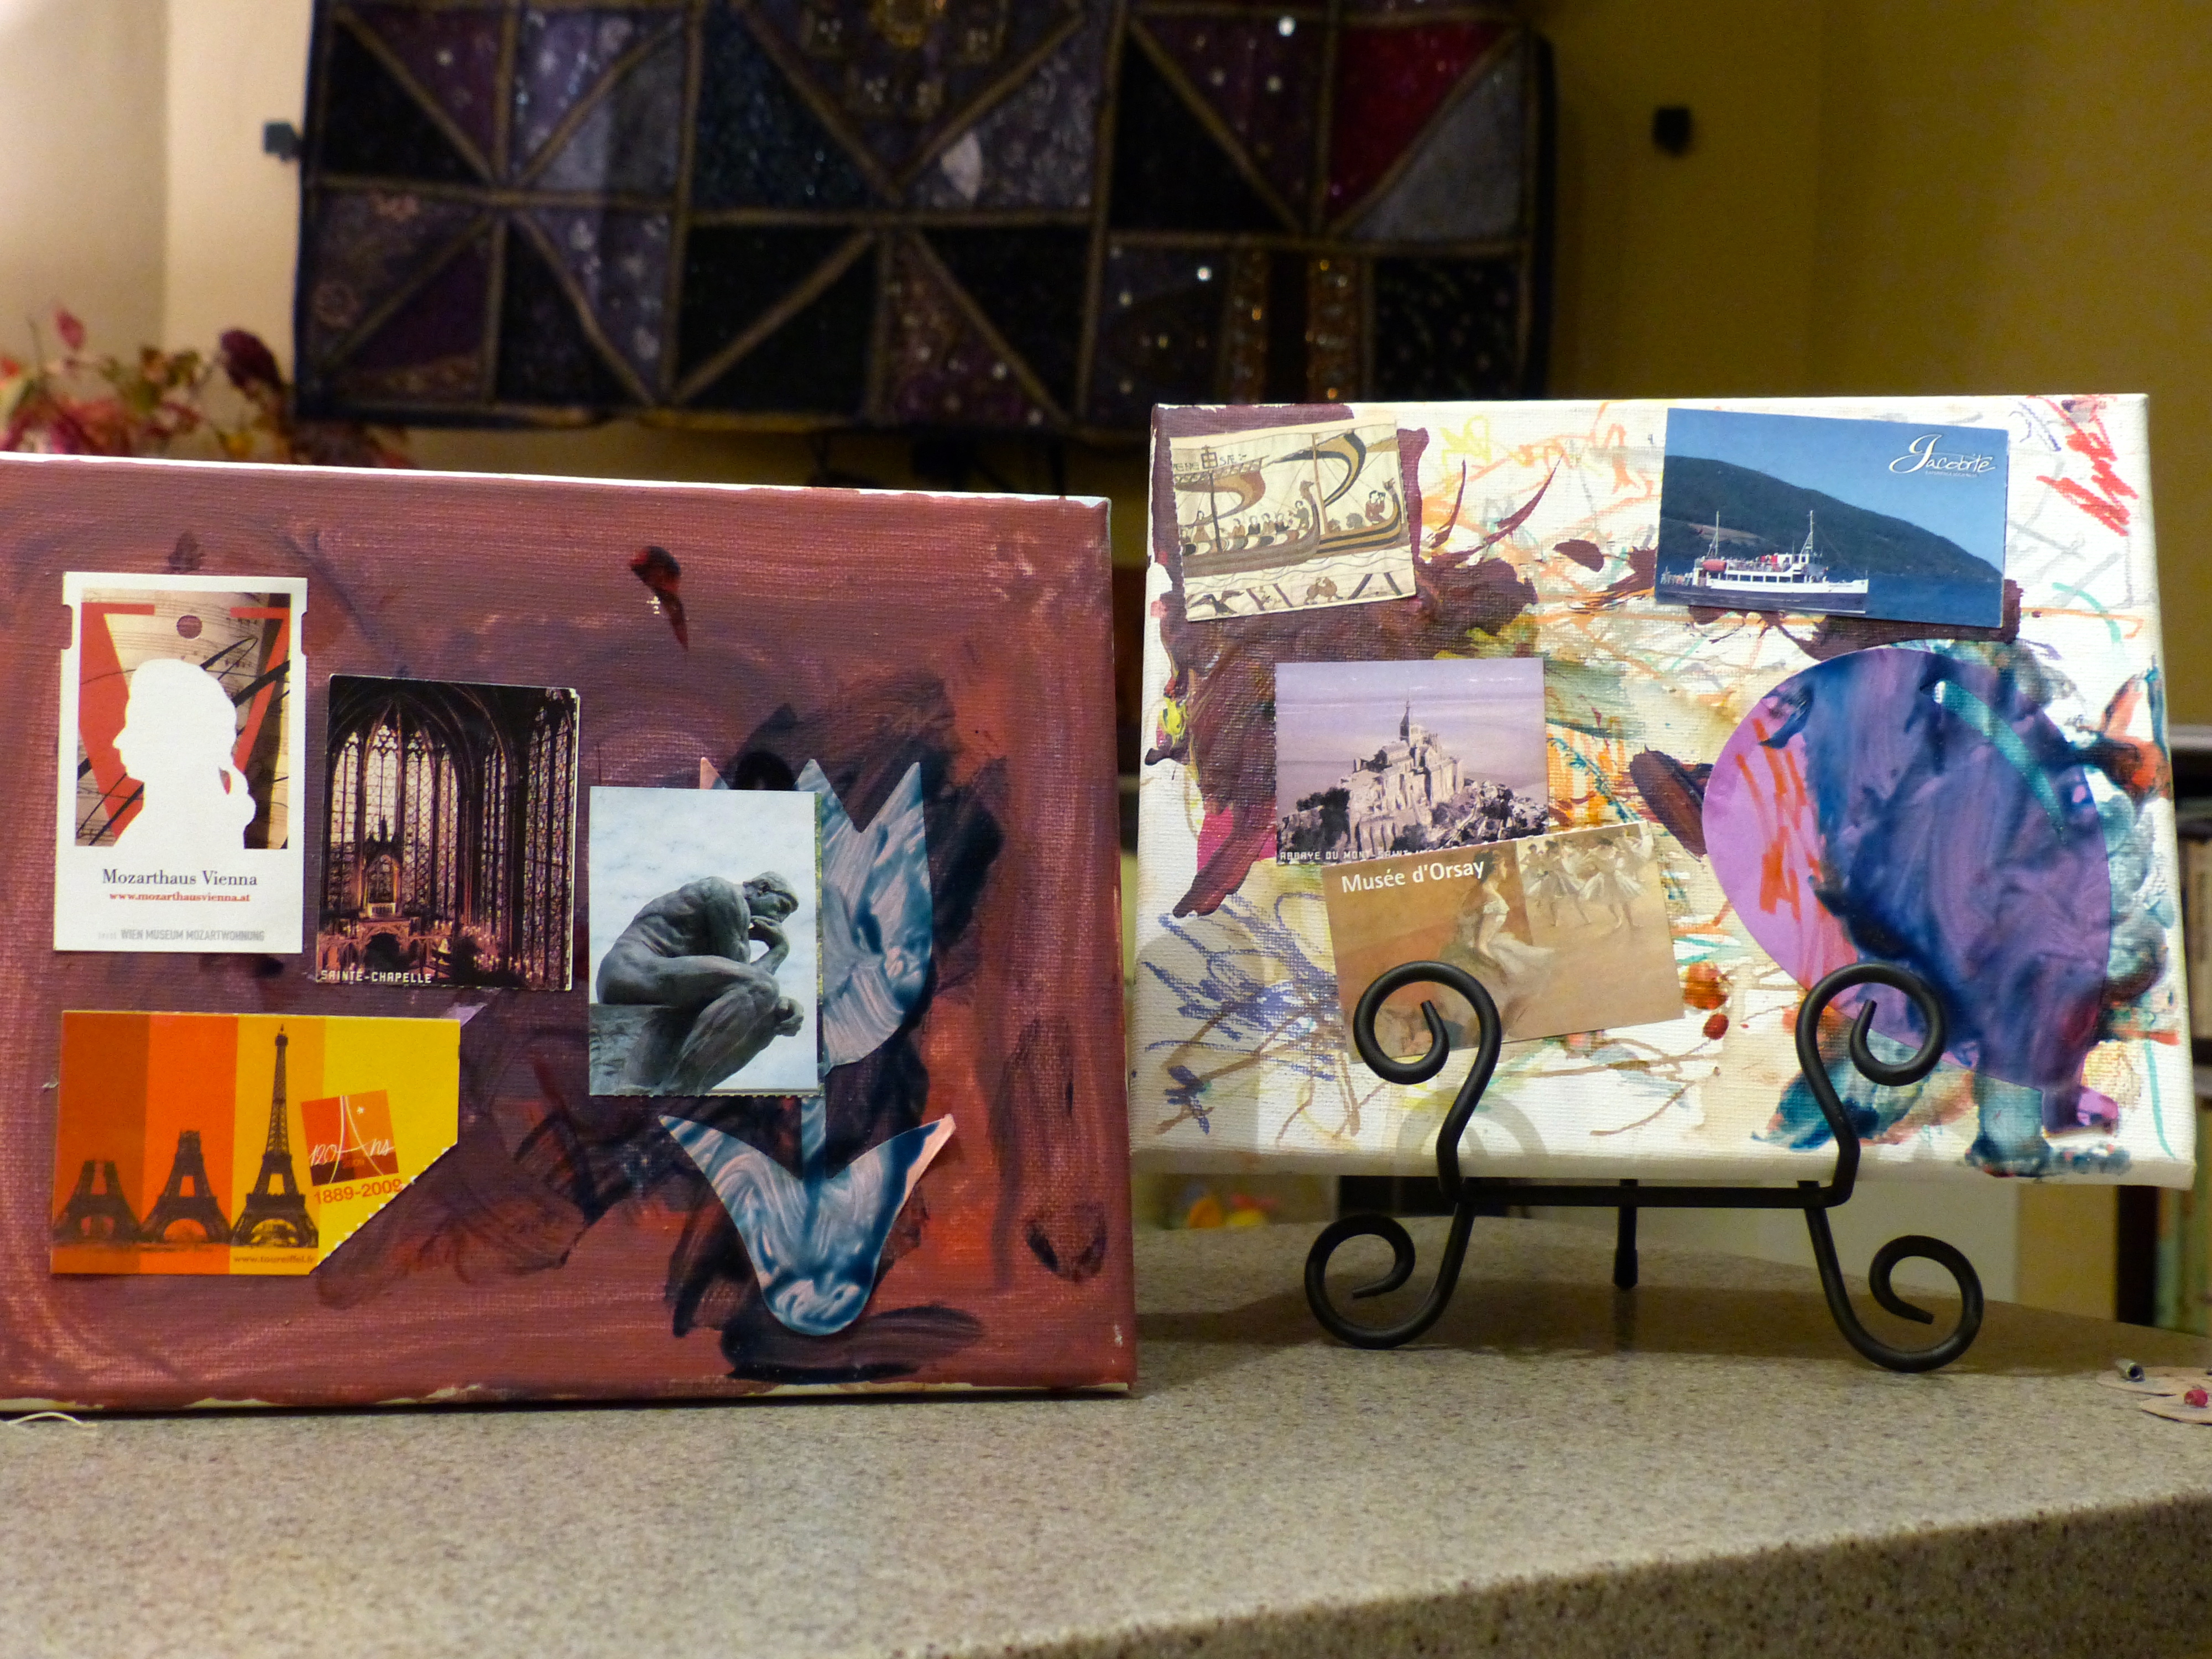
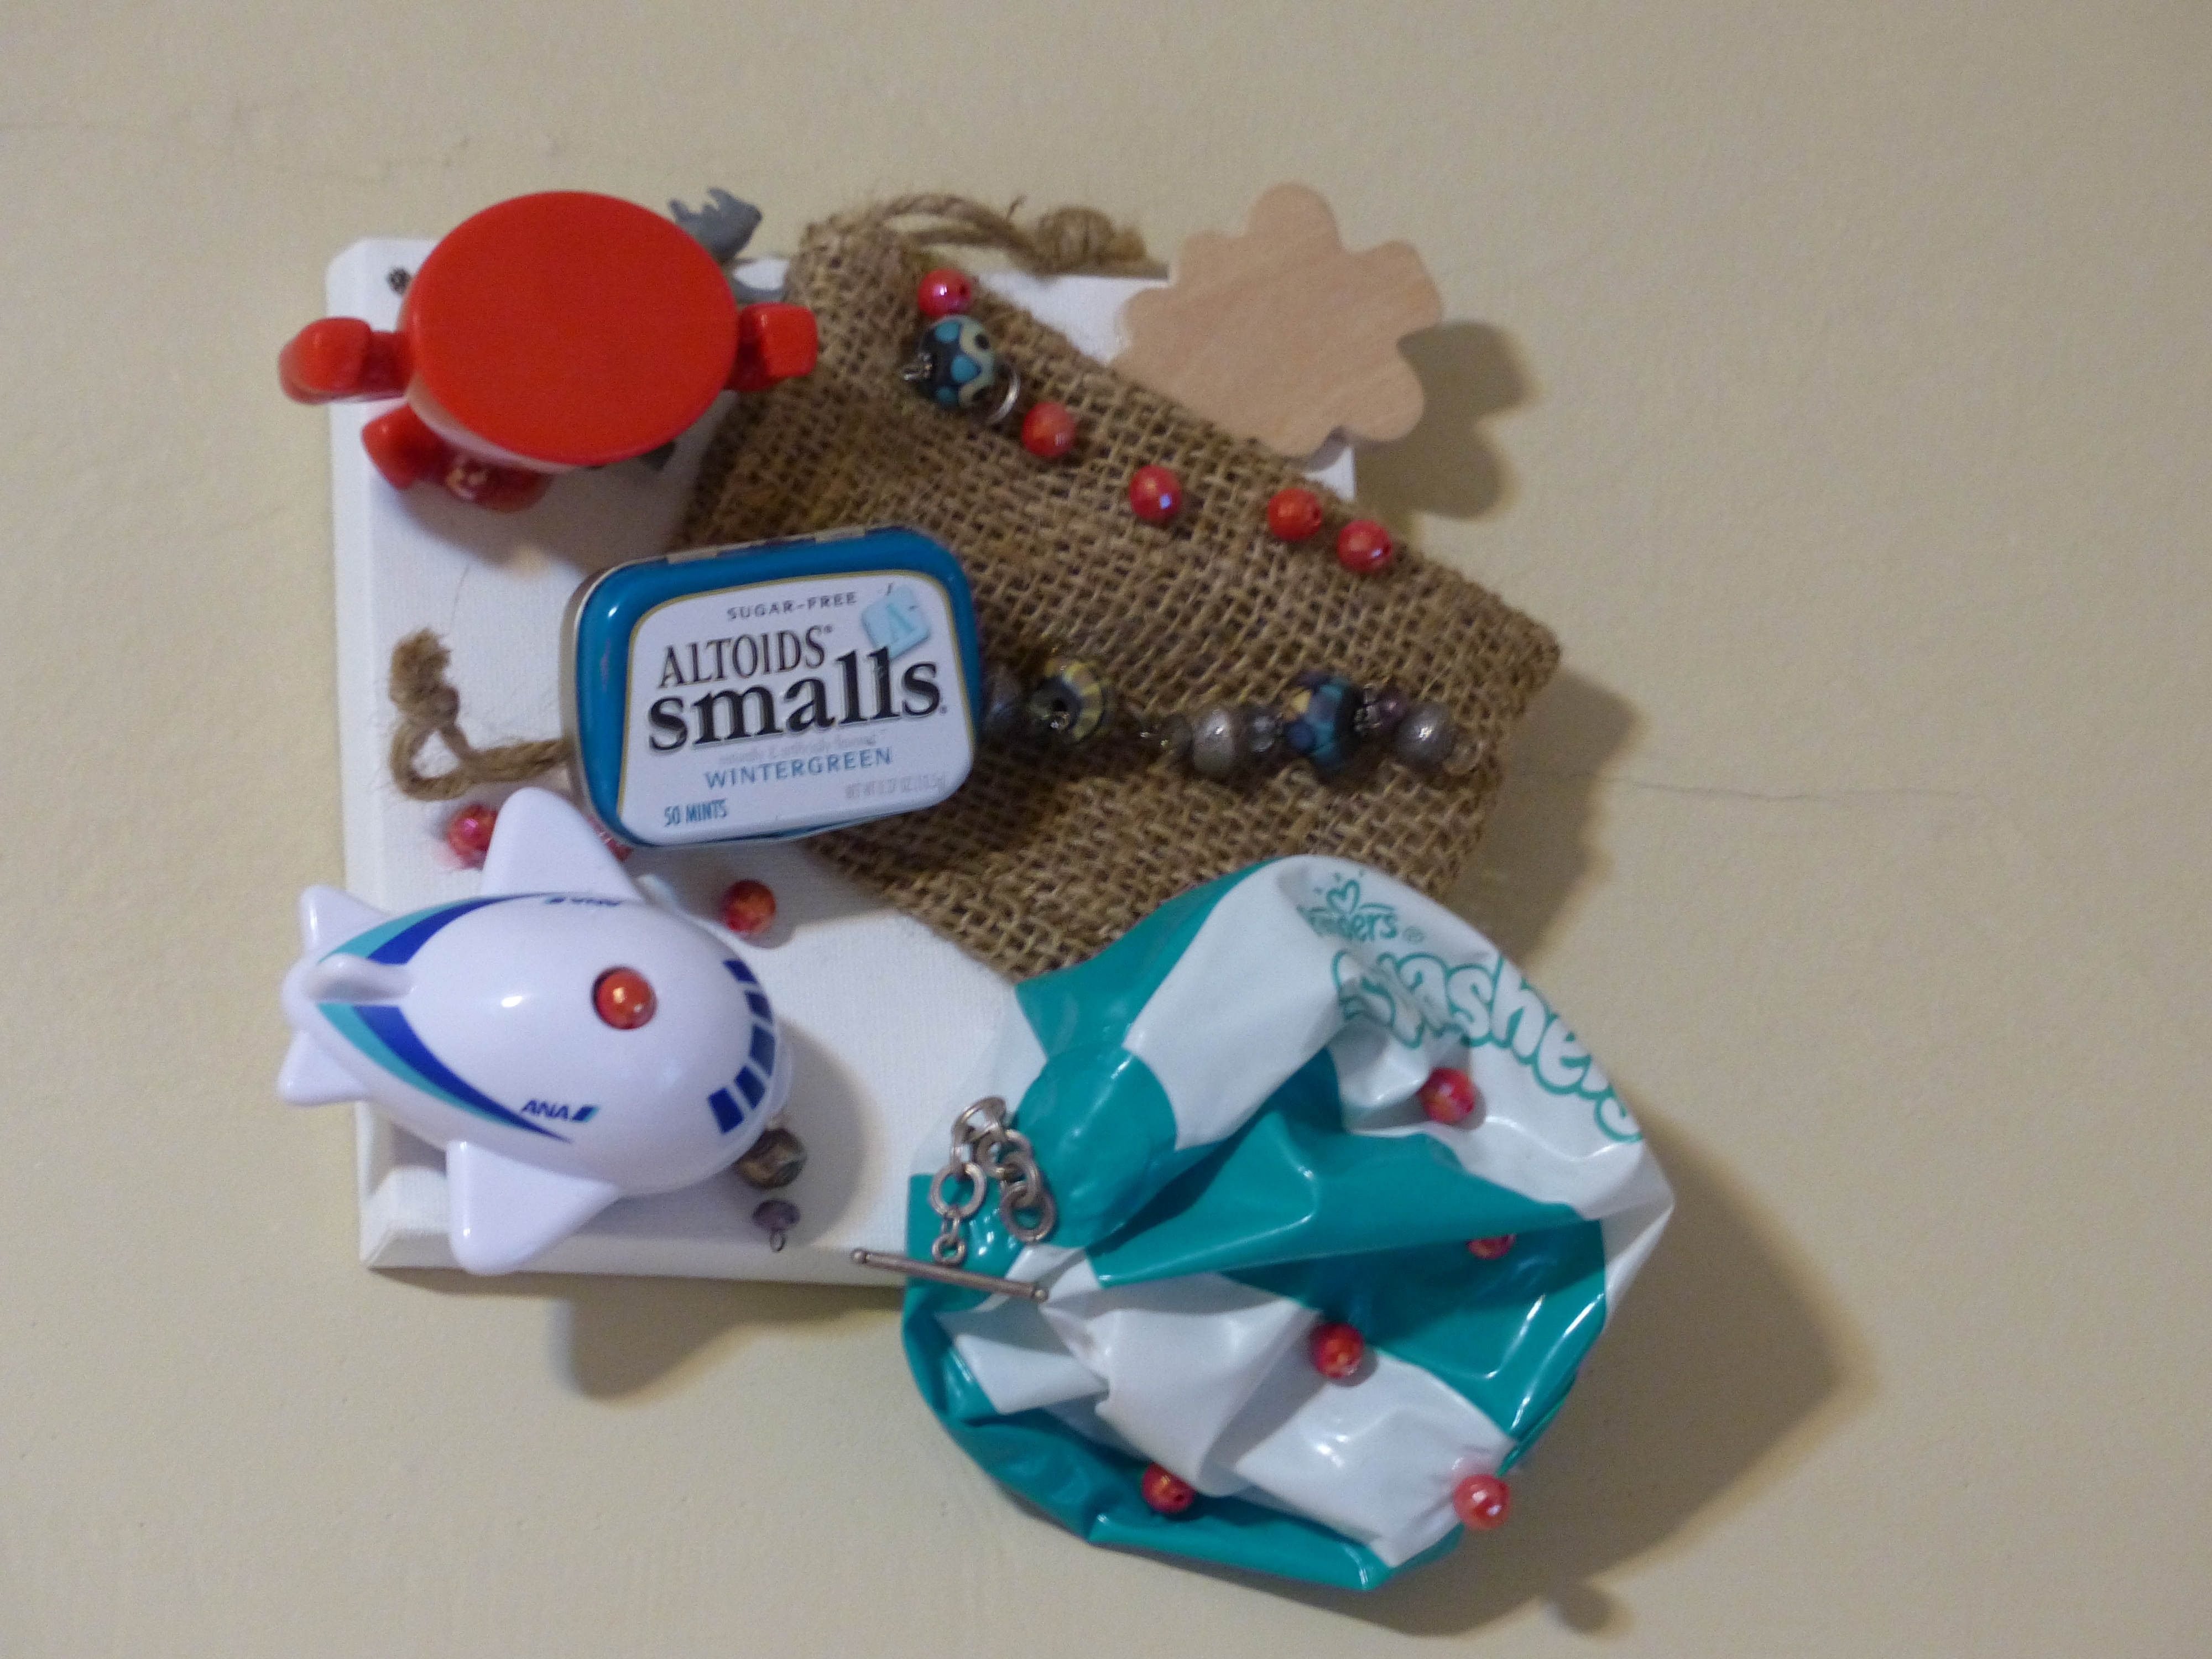
*What makes this project “cheap”? Every step is optional. If you don’t have the supplies, skip it. The only essential is the canvas. The canvas can stand the multiple layers of coloring, water and paint. And if you don’t have ticket stubs to make it a travel project, walk through the house with the kids and pick up small items that don’t have a home, but that you don’t want to throw away. Use a stronger glue to adhere them to the canvas for a quick 3-D art project.


7 responses to “Cheap* mom art project OR Kid’s travel art in six steps”
Oh good. I was hoping so!
Haha! If you make one, send us a picture so we can see how it turns out. You might get one in the mail sometime from us. Just sayin’. . .
Well, the girls are very serious and concentrate hard when they do the projects, so I think it can be considered “serious” art. You might be seeing more of those projects as gifts in the future:-)
Thanks Jeannie! I put them up in our living room and they look great. I like the juxtaposition of the art on the ticket stubs against the backdrop of the girls designs. I think we’ll be making more of those!
Kids’ art project? I’m thinking of creating one of my own! Unless your two beauties want to create one for us… just saying.
We love the one Petra made for us. I consider it serious art!
What a wonderfully creative idea. I loved how they turned out!!!!